
Anyone else have Ladybug Girl fans at home? I have two – and I love encouraging it because she makes a great pint-sized heroine for little girls to love. Ladybug Girl is adventurous, creative, imaginative and independent, all things I want to inspire in my daughters. And after my mom bought the girls matching Ladybug Girl tutus and rain boots at Target, I knew my days were numbered before Big M (age 4) would ask me to help complete her ensemble…

About Ladybug Girl
For those not familiar with the series, Ladybug Girl 


My girls are huge fans and have read the board books since before they could talk! So when over the holidays my mom was here visiting, and on a trip to Target they saw the new Ladybug Girl line, it didn’t take much begging and pleading with grandma to get her to buy them tutus and rainboots. However, there were no wings. And as Big M was quick to point out, “Ladybug Girl has to have wings!”
Kid-Made Ladybug Girl Wings
After a few weeks of begging, we finally sat down last week to make some Ladybug Girl wings. We used a few basic craft supplies and all in, spent well under $5 to make them.
Supplies
Craft paper
Red and black tempera paint
Sponge brushes – flat and round
Aluminum craft wire(12-14 gauge)
Wire cutters
1/2″ duct tape
Black ribbon
Hot glueCost: Less than $5
Prep Time: Less than 15 minutes
Clean-Up Time: Less than 5 minutes

The only material I actually had to buy for this project was the Aluminum craft wire. I thought originally I could make it with dismantled coat hangers, but they were too stiff to bend well. The aluminum craft wire was perfect. I picked up a package in the jewelry section of the craft store for $1.99. I helped to assemble the wings, but the girls did all the painting.
Making Ladybug Girl Wings
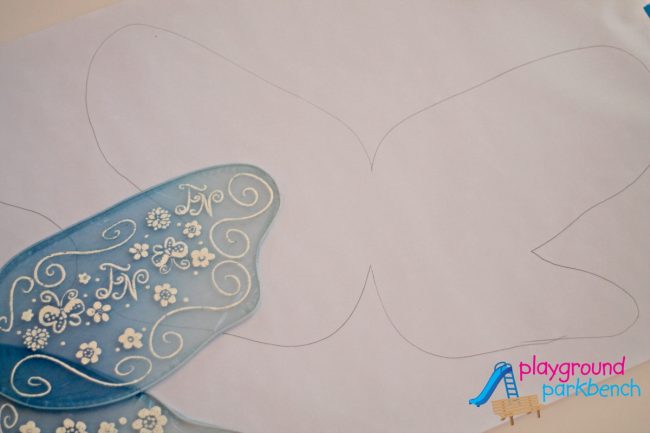
First, I pulled out a length of craft paper on the girls’ craft table, and traced a set of wings we had from a Fancy Nancy butterfly costume. I mostly just used them to gauge size, since I tend to always make things bigger than necessary!
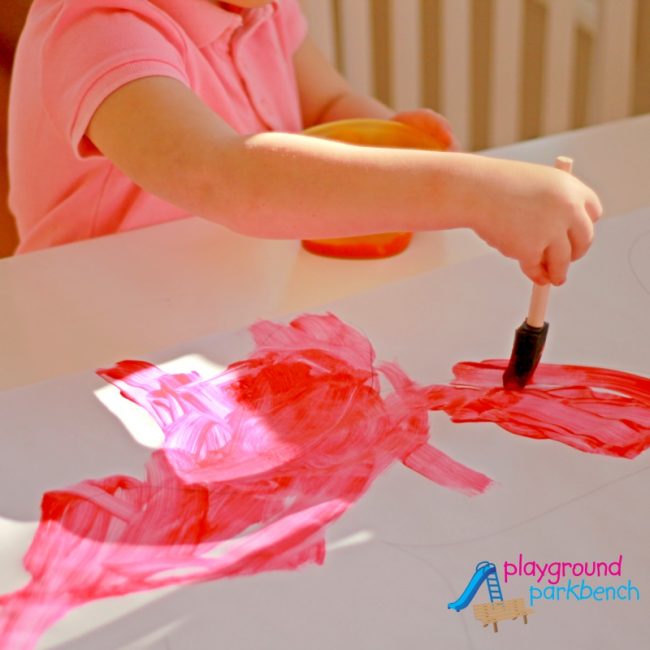
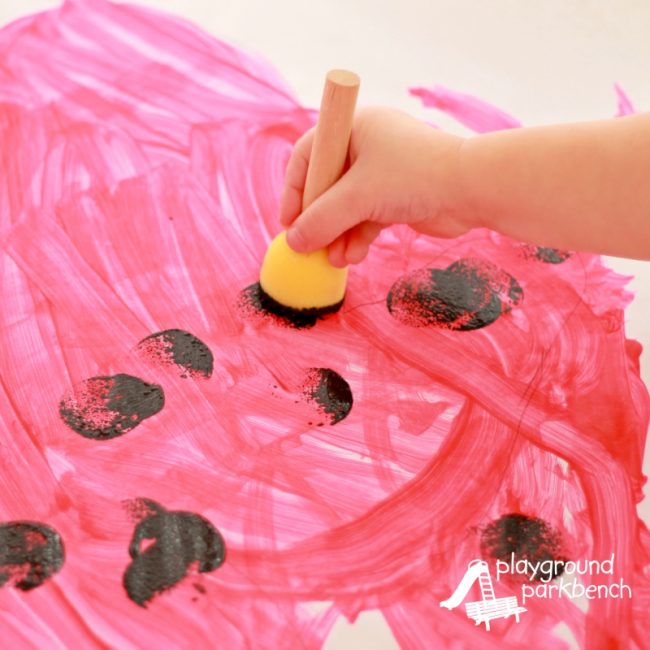
I told them to paint them red, and once it dried we would add the black spots.
While they did the fun part, I got to work building the structure. I used the aluminum craft wire to create the four loops below, forming the skeleton of the wings. I formed the loops with one continuous piece of wire in the order numbered below, crossing the center each time. When I finished, I wrapped the centers and loose ends with duct tape.

I cut out their painted wings and affixed them to the frame I built with hot glue. Then I measured a length of black ribbon to go around their arms and fit on their shoulders like a backpack. It’s basically one big loop, twisted in the center to form a figure eight, with the center ‘X’ glued on to the wings.

And with her wings complete, she was off to find her own adventure, because ‘Ladybug Girl can do anything!’
[bctt tweet=”DIY Ladybug Girl Wings… ‘Ladybug Girl can do anything!’ #LadybugGirl #kidscrafts #kidlit”]
More Ladybug Girl Inspired Fun
Looking for more Ladybug Girl-inspired fun? Check out these posts from our friends around the web!
Ladybug Girl Oreo Treats | Craftulate
Life Lessons from Ladybug Girl | Creative Family Fun
Ladybug Girl Birthday Party Theme | The Educators Spin on It
Do you follow the Ladybug Girl series? Which book is your favorite? What other female heroine series do you love? If you liked this post, be sure to check out Empowering Books for Little Girls and Teaching Children How to Handle Emotions with the Pout Pout Fish! You can find all of these, and our favorite story-driven activities on our Read! Read! Read! board on Pinterest!
1 comment
[…] cute are these ladybug wings from Playground and Park […]