
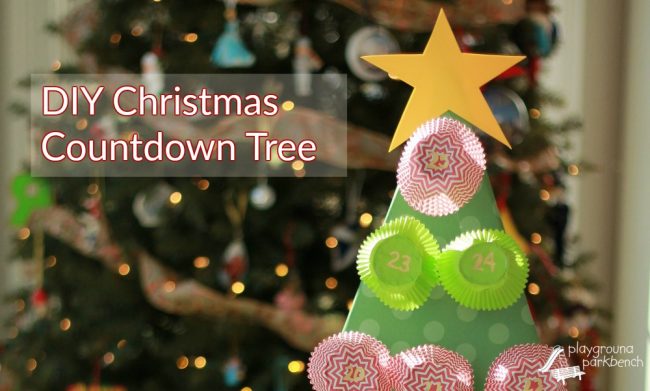
Growing up, I always looked forward to December 1st, and my Mom’s reveal of our annual Advent Calendar. On a recent trip through Target, I saw an adorable 3D Christmas tree version… for $30. And it still needed gifts to go inside. I knew I could create my own version for less, and the result is this DIY Christmas Countdown Tree.

DIY Christmas Countdown Tree
After being inspired by the Target Advent Calendar Tree, I set out to create one for less. I spent a grand total of $5 on materials in addition to household items and recyclables I saved up. I can’t wait to give it to the girls tomorrow to start our Christmas Countdown!
Supplies
I purchased a large piece of white foam board and the fun, green polka-dot poster board at the craft store. Everything else were materials I already had on hand.
Supplies
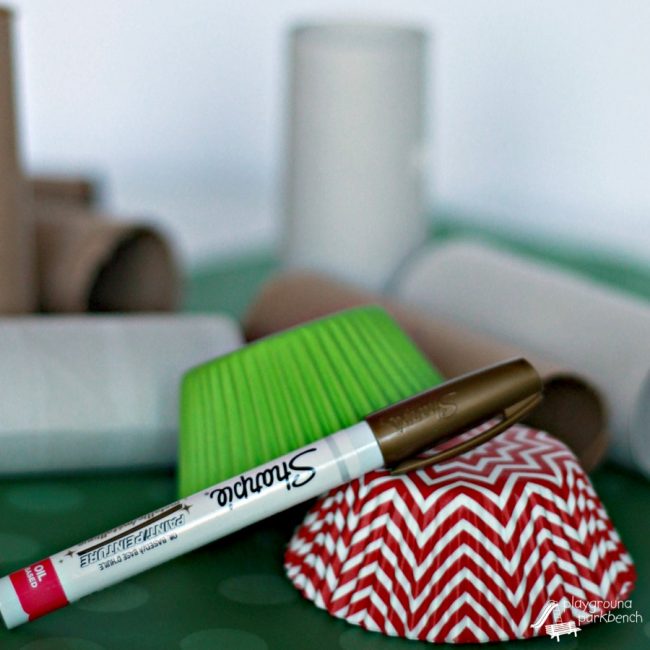
1 large piece of foam board
1 green poster board
25 toilet paper rolls
25 cupcake wrappers
Gold paint pen
Wrapping paper
Craft glue
Hot glue
25 small giftsCost: $5 (excluding gifts)
Prep Time: 2 hours


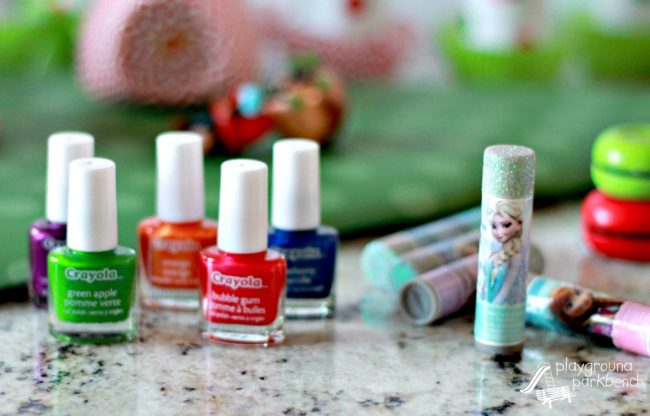
When shopping for gifts to fill your Advent Calendar, keep in mind that they have to fit inside a toilet paper roll. I hit up the holiday and girls’ beauty section at Wal-Mart, as well as the Dollar Store to collect gifts to fill our tree, including small nail polishes


Building the Christmas Countdown Tree
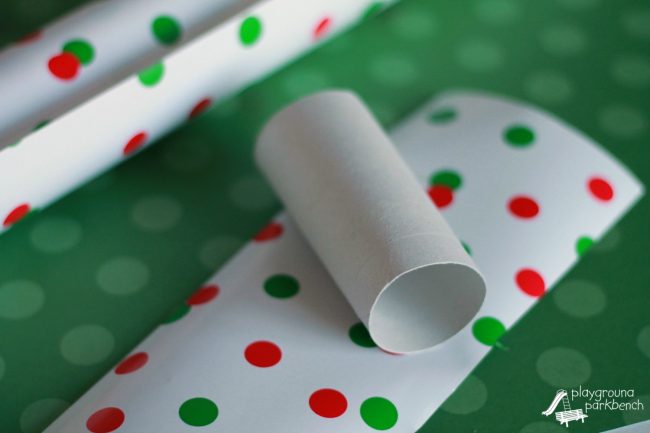
First, I had to amass the toilet paper rolls. It came down to the wire (got the last one on Saturday!), and I had to cut up a few paper towel rolls and a wrapping paper tube to get there, but I did it! Now, to make them pretty, I used craft glue to wrap them in festive holiday wrapping paper.

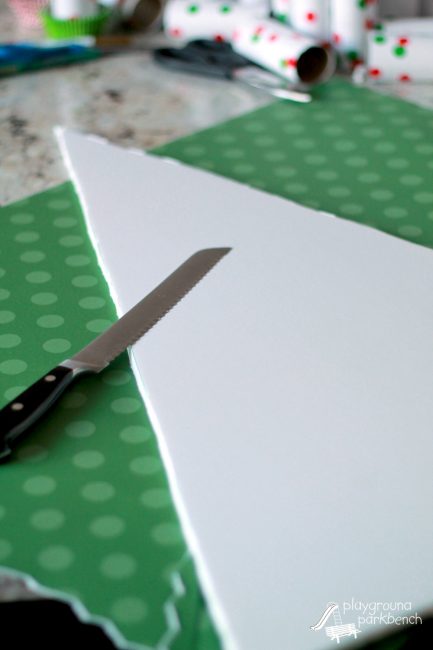
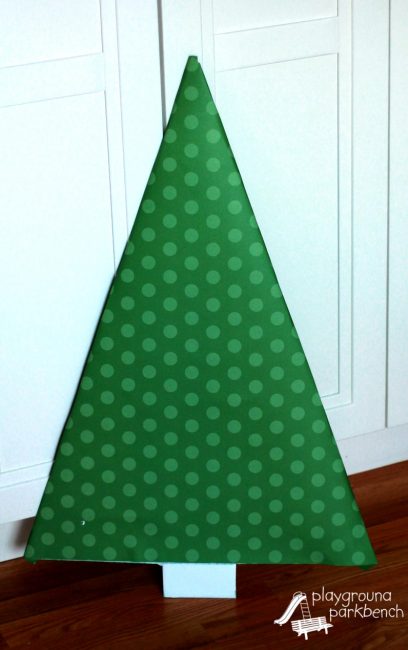
Next, I cut my tree from the rectangular piece of foam board. You can cut through foam board like butter with a serrated bread knife (a trick I learned from my Grandmother when she used cardboard to make cake boards for her bakery!) Save the pieces you cut off to make a stand for later.
Once the tree is cut out, wrap it with your green poster board, and glue it down with craft glue. I just loved the polka dots on this one!
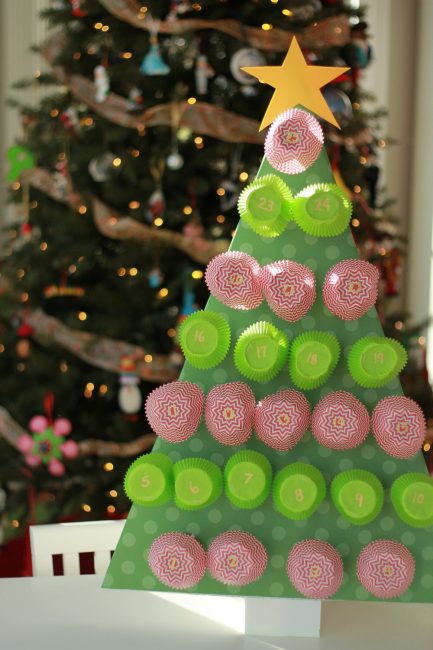
Next, I used my gold paint pen to write the numbers 1-25 on the bottom of my cupcake wrappers. I played with the layout of the tubes on the tree form, and decided to alternate wrapper colors by row, but you could use all the same color or randomly number them as well.

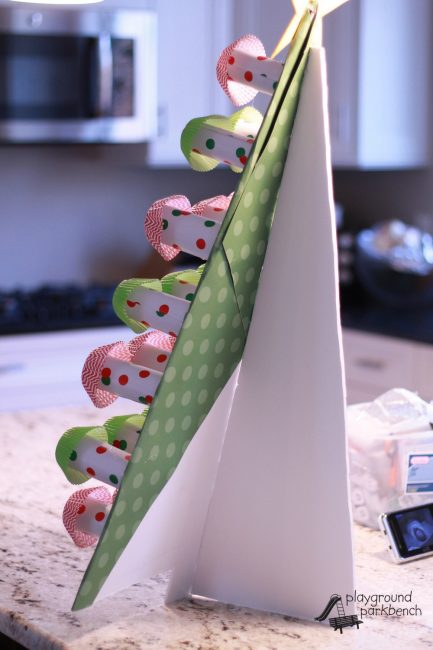
Last, assembling the tree and stuffing the tubes with gifts. I did this the hard way: I glued the wrappers on the tubes, put the gifts inside, and then hot glued the tube (while carefully flipping it to make sure the gift didn’t fall out) to the tree. I did most of it this way, before realizing it would be far easier to hot glue the empty tubes to the tree, add the gifts, then glue the wrappers onto the tubes!
Last, attach one of the remnant pieces of foam board to the back of your tree to create a stand. I cut off an angled piece from the bottom so it would lean back slightly, then hot glued it to the back of my tree.
And voila, my DIY Christmas Countdown Tree is ready for tomorrow!
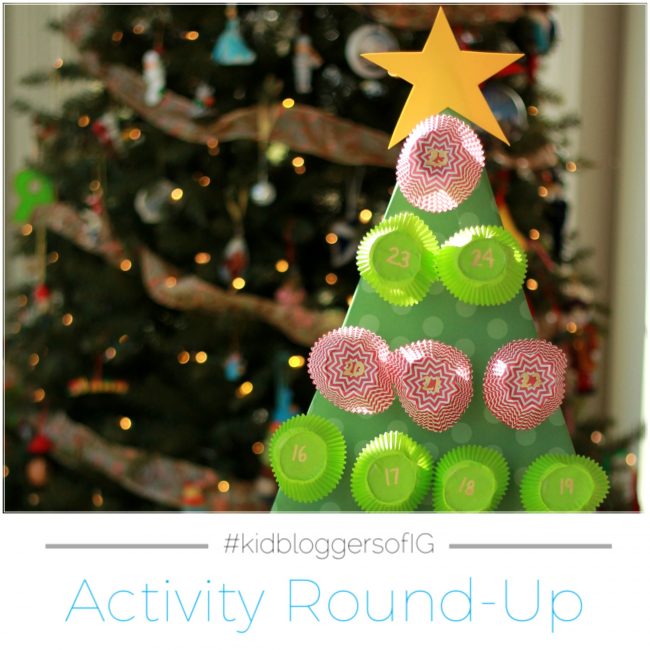
#KBIGRoundUp
This is our contribution to this week’s Kid Bloggers of Instagram Monday Activity Round-Up! The theme this week is Christmas Countdown. Check out my post on Instagram @PGPBMeghan every Monday at 10AM ET for the full line-up of weekly activities or follow #KBIGRoundUp.
You can also catch the posts and any related blog posts on our Kid Bloggers Activity Round-Up board on Pinterest.
If you enjoyed this post, you might also enjoy Christmas Log Cabins and Easy Christmas Cookies. You can find all our Holiday posts here, and on our Christmas board on Pinterest.
5 comments
[…] DIY Christmas Tree Countdown // Playground Park Bench […]
[…] DIY Christmas Tree Countdown // Playground Park Bench […]
That is amazing! We picked a wooden pre-made one up from Target a few years ago but the boxes are so small that all I can fit in them is a little scroll of paper! We might have to try this as an alternative 🙂
Awww, thanks! It definitely turned out so much better than I even imagined. I think the green polka dot poster board makes it! I thought I would have to toss it after this year, but at least after day 1, I think I may be able to reuse it annually and just replace the cupcake wrappers.
[…] you enjoyed this post, you might also enjoy our Christmas Log Cabins and DIY Christmas Countdown Tree. You can also find all of these, as well as our favorites from kids activity bloggers everywhere, […]