
As I mentioned earlier this week, I started reading Big M The Wonderful Wizard of Oz before bed. We read a chapter every night, and each night, she is more excited than the last to hear where the story will lead us next. Earlier this week, our weary travelers finally reached the Emerald City. She listened in rapt fascination at the detailed description of the green, jewel encrusted city and palace.
At 3.5, she is very into imaginative play – my playroom design expert, Amy, at Learning by Design, just wrote a great post about why dramatic play is so important for young children. Big M does it all: playing dress up, cooking in her pretend kitchen or even pretend cooking in the real kitchen, re-enacting stories and movie scenes with her Little People Disney Princesses… and now that she has Wizard of Oz characters, re-enacting that story as well. So it was not terribly surprising when she asked at breakfast the morning after reading about the Emerald City, if we could build one for her Dorothy.
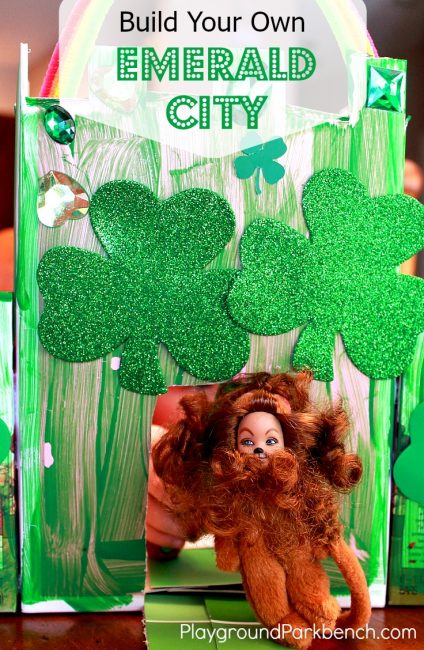
Build Your Own Emerald City
So put on the spot at breakfast to create an Emerald City, I headed to my craft closet to assess available materials. Fortunately, I had already planned on our scissor skills activity that morning, with a green theme, since it is the month of St. Patrick’s Day! A recent trip to the Dollar Store had secured some giant, sparkly shamrocks. That, along with our jewel supply, made for plenty of decorations. Now, I just had to find something for the structure itself… The grocery delivery arrived, and I consolidated two near-empty granola bar boxes into new ones, and found a shoe box in Lil’ M’s closet.
Supplies:
Assorted small boxes
Green paint
Green decorations – paper, cardstock, foam shamrocks, green jewels
Multi-colored pipe cleaners
Tape
Glue stickFor parents only:
Hot glue
X-Acto KnifeCost: Free / Less than $5
Prep Time: Less than 10 minutes
Clean-up Time: Less than 5 minutes
I cut off the tops and back of the boxes, then glued the two smaller granola bar boxes to the sides of the shoe box with hot glue to form the castle structure. I cut castle teeth along the top, then turned it over to Big M to decorate.


She started by painting it all green. I laid down a trashable layer (aka 1/3 of a Dollar Store table cloth), put two shades of green paint on a plate, and let her go to it. To keep Lil’ M entertained with some green “paint” of her very own, I gave her a green Bingo marker and some blank paper.
We let the castle dry, and after quiet time, it was ready to embellish! I handed Big M a handful of multi-colored jewels and told her to sort out the emerald-colored ones. This is one of her new words this week, learned from reading The Wonderful Wizard of Oz! She glued on jewels, big sparkly shamrocks, and some little ones from our punching activity in the morning. Then, she informed me, it needed a door. So I used an X-Acto knife to cut a drawbridge style door. She glued some green paint chips to it to create a walkway. Last, she said it needed a rainbow, which I helped her create with some multi-colored pipe cleaners that we taped down to the inside of the top of the castle.


And of course, once the castle was complete, she needed her ‘Oz people’ to come play in it!


I love how excited she is to read before bed every night, and I’m amazed by how much of the story she is actually retaining. Pretty sure she’s going to ask to make a poppy field and yellow brick road next!
What stories have ignited your child’s creativity? What are your favorite Wizard of Oz activities? Share them with our readers in the comments below, and we will share them on our Facebook page and pin them to our Read! board on Pinterest, full of all our favorite books and related activities.
Follow Meghan @ PlaygroundParkbench’s board Read! Read! Read! on Pinterest.


6 comments
[…] Imaginative Play: Build Your Own Emerald City from PlaygroundParkbench […]
[…] build your own robot, as well. If you enjoyed this Wizard of Oz craft, be sure to check out our Build Your Own Emerald City […]
Great post! My favourite part though is how you kept the littler one entertained, yet involved by adapting your activity to suit. We often do that around here…. Wonderful idea!
It’s one of my ongoing challenges, since the older she gets, the more involved she wants to be – but it certainly keeps her occupied!
This is such a fun activity! I love how you’ve combined arts and crafts, imagination and literature!
I take little to no credit beyond facilitating and documenting… Big M is the one with all the big, imaginative ideas!